DIY Hairstyling: Simple Tricks for a New Look
Your hair is like a canvas, waiting for you to explore your creativity and express your style. Do-it-yourself (DIY) hairstyling offers an exciting way to experiment with various looks, whether you want to enhance your daily appearance, prepare for a special occasion, or simply have fun with your hair. In this article, we'll dive into the world of DIY hairstyling, sharing essential tips, techniques, and inspiration to help you achieve a fresh and fabulous look without the need for a professional stylist.
The Appeal of DIY Hairstyling
DIY hairstyling has become increasingly popular for several compelling reasons:
- Cost-Effective: Styling your hair at home saves you money on salon visits and professional services.
- Convenience: You can style your hair whenever and wherever you want, without scheduling appointments.
- Personalization: DIY hairstyling allows you to tailor your looks to your unique preferences and needs.
- Experimentation: Explore various hairstyles, from simple to intricate, and discover what suits you best.
- Skill Development: Learning to style your hair enhances your skills and gives you greater control over your appearance.
Getting Started with DIY Hairstyling
Before diving into hairstyling, it's essential to gather the necessary tools and products:
1. Hair Tools
- Hair Dryer: A basic hair dryer is useful for setting styles, adding volume, and quick-drying.
- Flat Iron: Ideal for straightening and creating sleek looks.
- Curling Iron or Wand: Essential for achieving curls or waves.
- Hair Brush and Comb: Various brushes and combs help detangle, smooth, and style your hair.
- Bobby Pins and Hair Ties: For securing and accessorizing your hairstyles.
- Hair Spray and Products: Depending on your desired look, have styling products like hairspray, mousse, gel, or pomade on hand.
2. Preparation
Start with clean, dry hair for most styles. Shampoo and condition your hair as needed, and ensure it's fully dry before styling.
3. Hair Protection
Use heat protectant products when using hot tools to prevent damage to your hair.
DIY Hairstyling Tips and Techniques
1. Straight Hair
- Classic Straight: Use a flat iron to straighten your hair section by section. Begin at the roots and glide the iron to the ends for a sleek finish.
- Sleek Ponytail: Create a polished look by straightening your hair and securing it in a high or low ponytail.
2. Wavy or Curly Hair
- Beach Waves: Achieve natural-looking waves by using a curling wand or iron. Wrap small sections of hair around the wand, leaving the ends uncurled.
- Curls: For defined curls, use a curling iron with a clamp. Wrap sections of hair around the iron, hold for a few seconds, and release.
- Messy Bun: Gather your hair into a high or low ponytail, twist it into a bun, and secure with bobby pins. Pull out a few strands for a relaxed look.
3. Updos and Braids
- Elegant Updo: Sweep your hair into an updo by twisting or braiding it and securing with pins. Leave some loose strands for a soft finish.
- Braided Styles: Experiment with various braid styles, such as fishtail, French, or waterfall braids.
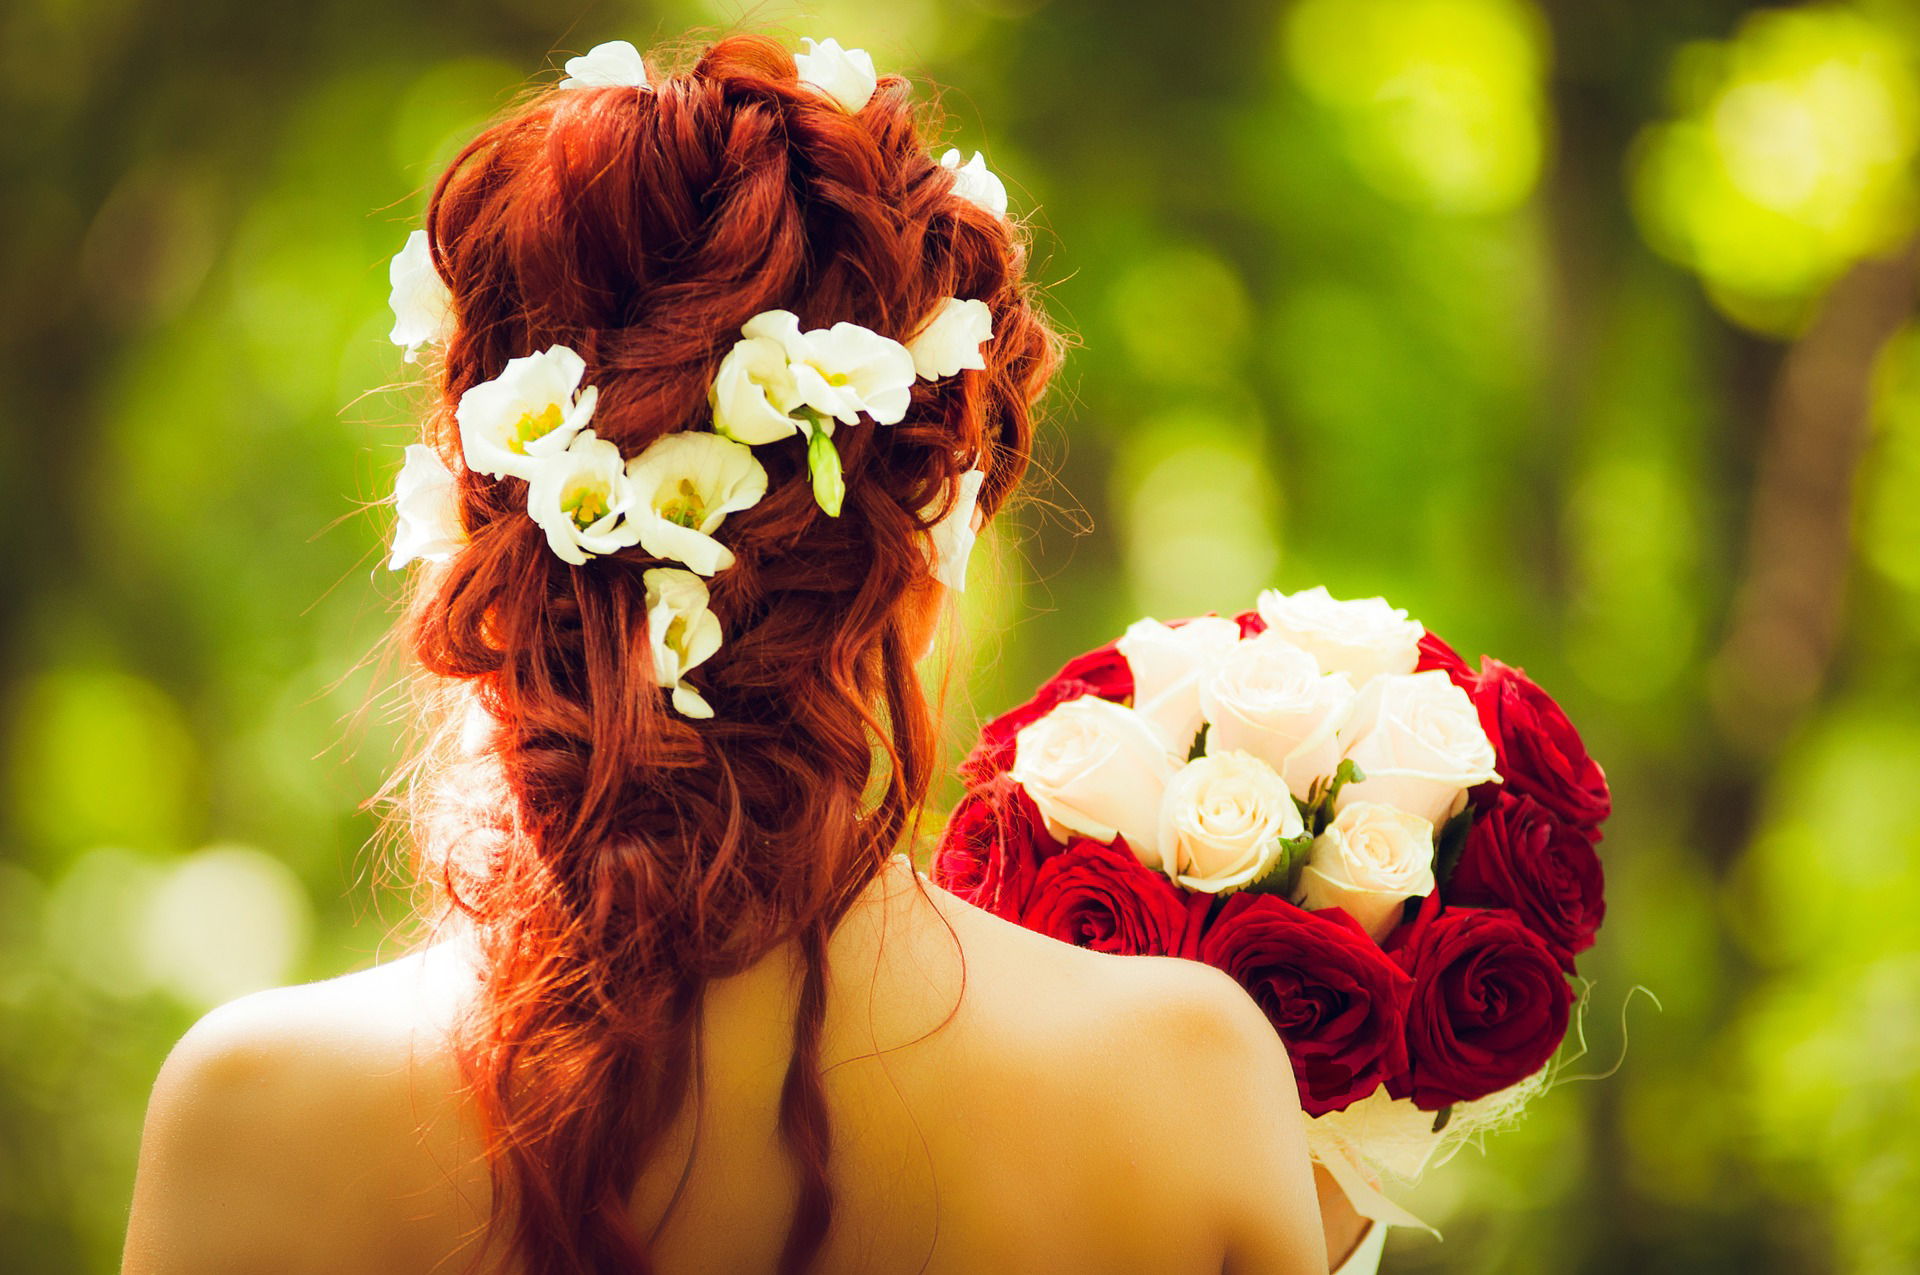
4. Accessorize
- Hair Accessories: Elevate your look with decorative pins, clips, headbands, or hair scarves.
- Extensions: Consider using clip-in hair extensions for added length or volume.
Conclusion
DIY hairstyling offers you the chance to be your hairstylist and explore a world of endless possibilities. Whether you're aiming for a casual look, a chic updo, or romantic waves, with the right tools, products, and techniques, you can achieve salon-worthy results from the comfort of your home. Don't be afraid to experiment, try out new styles, and discover the looks that make you feel confident and beautiful. So, grab your hairstyling tools, unleash your creativity, and embark on a journey of self-expression through DIY hairstyling.